Teams and Enterprise Migration Guide
Secure migration of your organization with Bitwarden is straightforward and secure. Simply follow the steps in this guide to migrate data and users from your existing password manager:
tip
If you need assistance during your migration, our Customer Success team is here to help!
Scope
This document describes the best practices for migrating secure data from your current password manager(s) to a Bitwarden Teams or Enterprise organization, building an infrastructure for security based on simple and scalable methods.
Password management is crucial for organizational security and operational efficiency. Providing insight into the best methods to perform migration and configuration is designed to minimize the trial-and-error approach that is often needed when exchanging enterprise tools.
Steps in this document are listed in the recommended order for ease of use and smooth onboarding for users.
Step 1: Export your data
Exporting data from another password manager will be different for each solution, and in some cases may be a bit tricky. Use one of our Import & Export Guides for help, for example with exporting from Lastpass or 1Password.
Gathering a full export of your data may require assigning shared folders or items to a single user for export, or performing multiple exports between users with appropriate permissions. Additionally, exported data may include individually-owned data alongside shared/organizational data, so be sure to remove individual items from the export file before importing to Bitwarden.
note
We recommend paying special attention to the location of the following types of data during export:
Secure documents
Secure file attachments
Secure notes
SSH / RSA key files
Shared folders
Nested shared items
Any customized structures within your password management infrastructure
Step 2: Setup your organization
Bitwarden organizations relate users and vault items together for secure sharing of logins, notes, cards, and identities.
tip
It's important that you create your organization first and import data to it directly, rather than importing the data to an individual account and then moving items to the organization secondarily.
Create your organization. Start by creating your organization. To learn how, check out this article.
note
To self-host Bitwarden, create an organization on the Bitwarden cloud, generate a license key, and use the key to unlock organizations on your server.
Onboard administrative users. With your organization created, further setup procedures can be made easier by onboarding some administrative users. It's important that you do not begin end-user onboarding at this point, as there are a few steps left to prepare your organization. Learn how to invite admins here.
Configure identity services. Enterprise organizations support logging in with single-sign-on (SSO) using either SAML 2.0 or OpenID Connect (OIDC). To configure SSO, open the organization's Settings → Single Sign-On screen in the Admin Console, accessible by organization owners and administrators.
Enable enterprise policies. Enterprise policies enable organizations to implement rules for users, for example requiring use of two-step login. It is highly recommended that you configure policies before onboarding users.
Step 3: Import to your organization
To import data to your organization:
Log in to the Bitwarden web app and open the Admin Console using the product switcher:
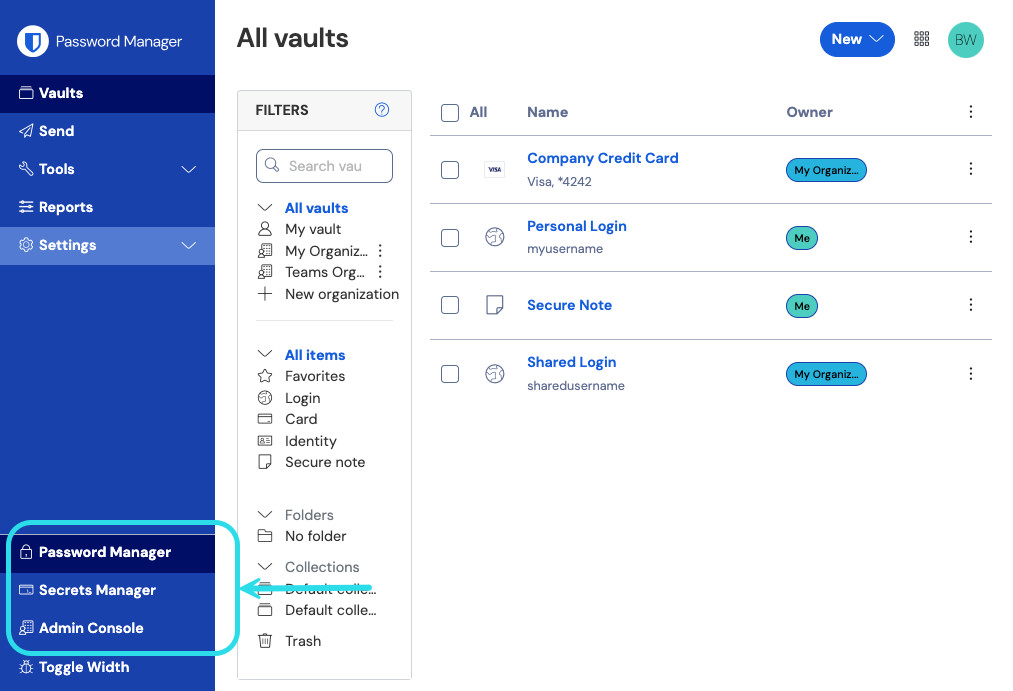
Product switcher Navigate to Settings → Import data:

Import organization items From the format dropdown, choose a File format (see Import recommendations below).
Select the Choose file button and add the file to import.
warning
Import to Bitwarden can't check whether items in the file to import are duplicative of items in your vault. This means that importing multiple files will create duplicative vault items if an item is already in the vault and in the file to import.
Select the Import data button to complete your import.

Currently, file attachments are not included in Bitwarden import operations and will need to be uploaded to your vault manually. For more information, see File Attachments.
tip
You should also recommend to employees that they export their individually-owned data from your existing password manager and prepare it for import into Bitwarden. Learn more here.
Import recommendations
When importing data to your organization, you have two options:
To import the default file format from your prior password manager.
To condition a Bitwarden-specific
.CSVfor import.
We recommend formatting your file for import as a Bitwarden .CSV for best results, or for advanced users, as a Bitwarden .JSON file. For instructions on shaping a Bitwarden-specific import file, refer to this import guide.
Step 4: Onboard users
Bitwarden supports manual onboarding via the web vault and automated onboarding through SCIM integrations or syncing from your existing directory service:
Manual onboarding
To ensure the security of your organization, Bitwarden applies a 3-step process for onboarding a new member, invite → accept → confirm. Learn how to invite new users here.
Automated onboarding
Automated user onboarding is available through SCIM integrations with Azure AD, Okta, OneLogin, and JumpCloud, or using Directory Connector, a standalone application available in a desktop app and CLI tool that will synchronize users and groups from your existing directory service.
Whichever you use, users are automatically invited to join the organization and can be confirmed manually or automatically using the Bitwarden CLI tool.
Step 5: Configure access to collections and items
Share vault items with your end-users by configuring access through collections, groups, and group-level or user-level permissions:
Collections
Bitwarden empowers organizations to share sensitive data easily, securely, and in a scalable manner. This is accomplished by segmenting shared secrets, items, logins, etc. into collections.
Collections can organize secure items in many ways, including by business function, group assignment, application access levels, or even security protocols. Collections function as shared folders, allowing for consistent access control and sharing amongst groups of users.
Shared folders from other password managers can be imported as collections into Bitwarden by using the organization Import template found here and placing the name of the shared folder in the Collection column, for example by transforming:

into:

Collections can be shared with both groups and Individual users. Limiting the number of individual users that can access a collection will make management more efficient for administrators. Learn more here.
Groups
Using groups for sharing is the most effective way to provide credential and secret access. Groups, like users, can be synced to your organization using SCIM or Directory Connector.
Permissions
Permissions for Bitwarden collections can be assigned on the group or user-level. This means that each group or user can be configured with permissions for the same collection. Collection permissions include options for Read Only and Hide Passwords.
Bitwarden uses a union of permissions to determine final access permissions for a user and a collection Item (learn more). For example:
User A is part of the Tier 1 Support group, which has access to the Support collection, with read-only permission.
User A is also a member of the Support Management group, which has access to the Support collection, with read-write access.
In this scenario, User A will be able to read-write to the Collection.
Migration support
The Bitwarden Customer Success team is available 24/7 with priority support for your organizations. If you need assistance or have questions, please do not hesitate to contact us.