Vault Items
Did you know that Bitwarden can securely store more than just usernames and passwords? There are four types of items you can store in your vault; logins, cards, identities, and secure notes:
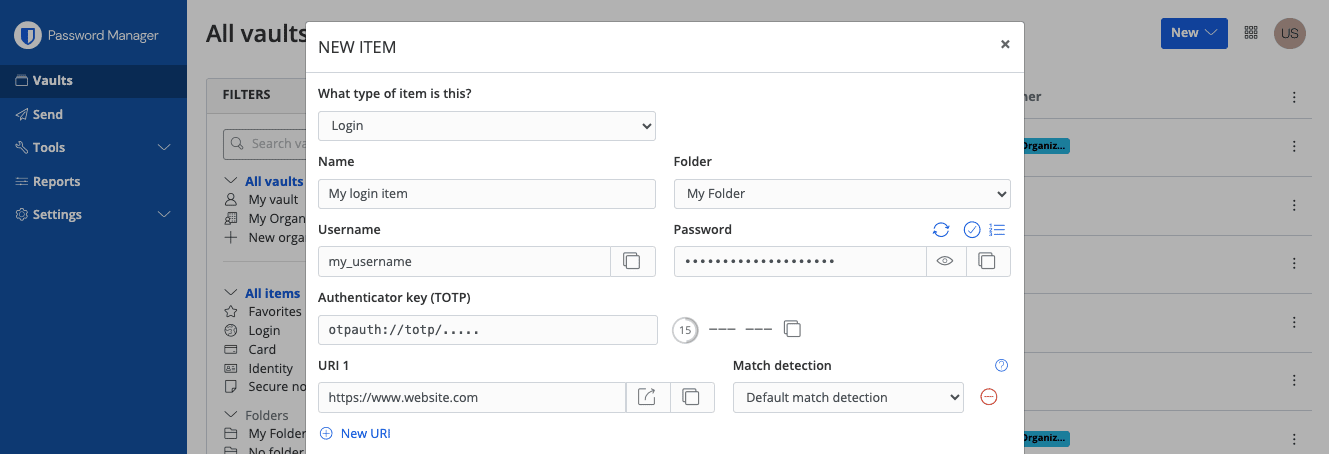
Logins are most often used to store username and password combinations, passkeys, and support TOTP seeds for premium users. Whatever plan you are on, we recommend giving every login a URI for easy auto-fill:
Cards can be used to securely store credit or debit card information:

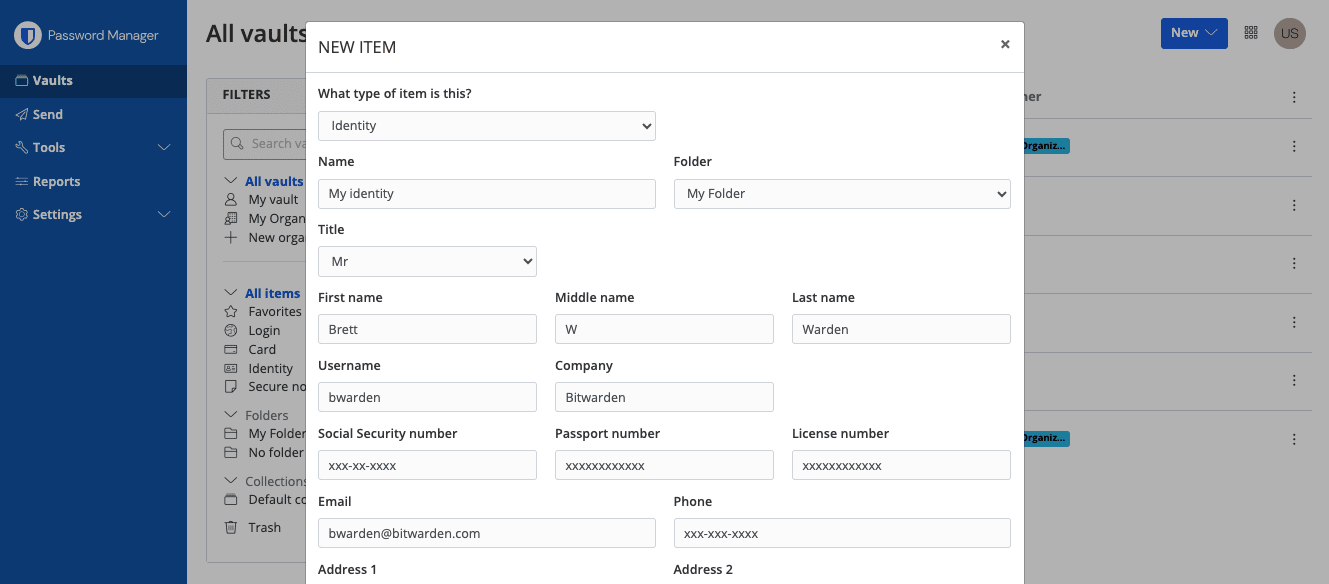
Identities can be used to store billing, mailing, and most other types of information you might need when filling out online forms:
Secure notes can be used to store encrypted freeform text for anything you want protected:

tip
You can import items directly into your vault from most password managers or web browsers.
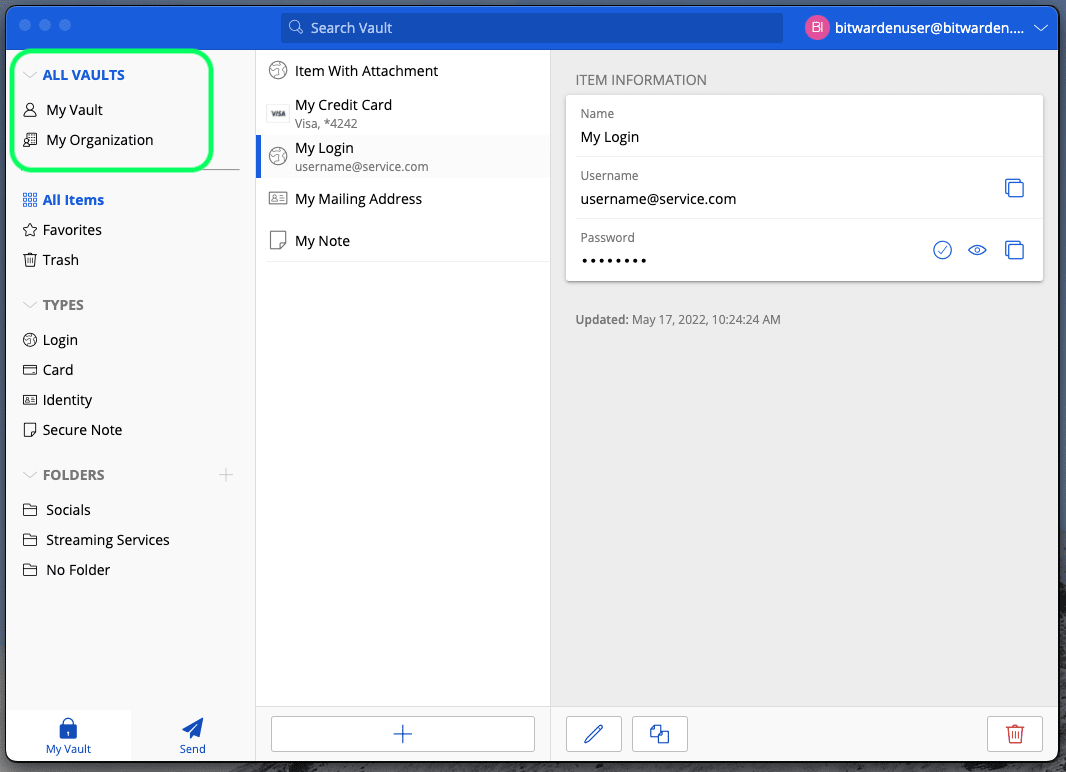
You can filter which items to list by whether they're in your individual vault (My Vault) or an organization vault. To filter by vault:
Either:
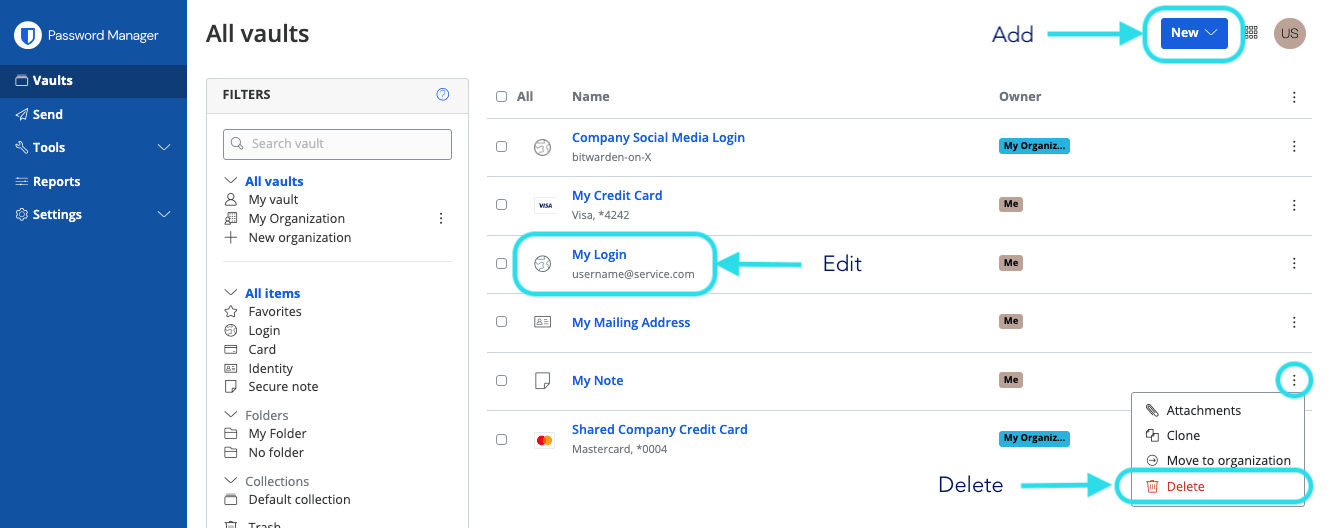
Select a vault name from the Filter column (in the following screenshot, My Vault or My Organization).
Select one of the colored cards next to an item (in the following screenshot, either Me or My Organization).

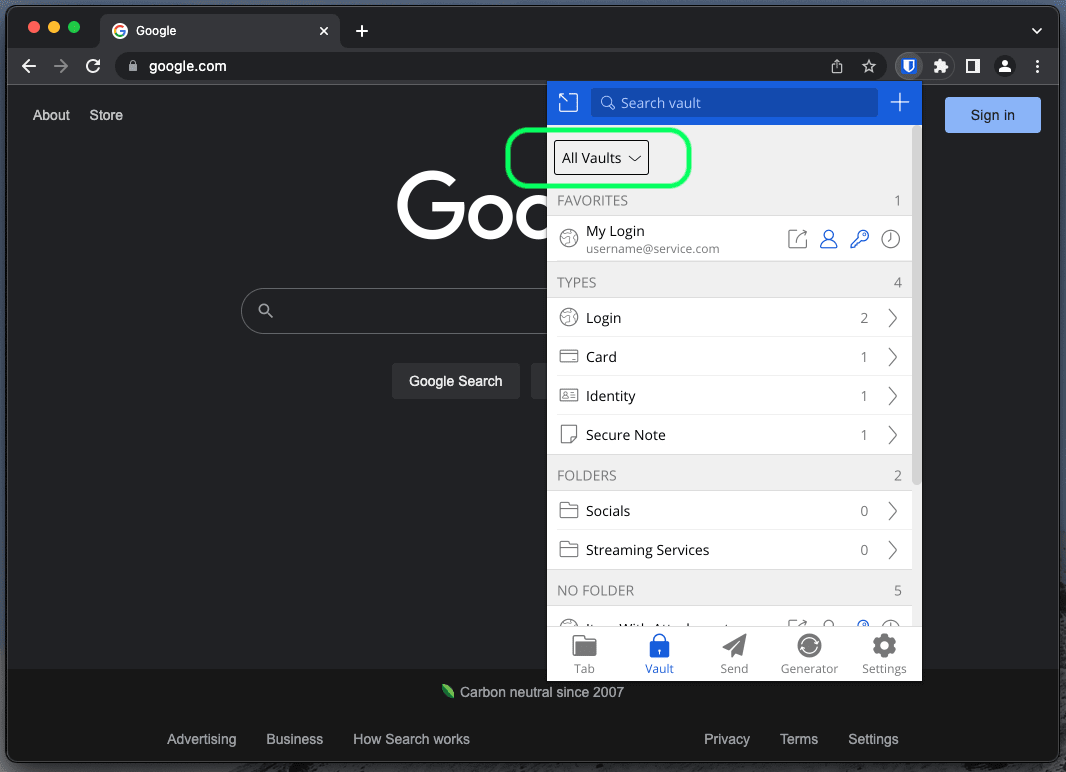
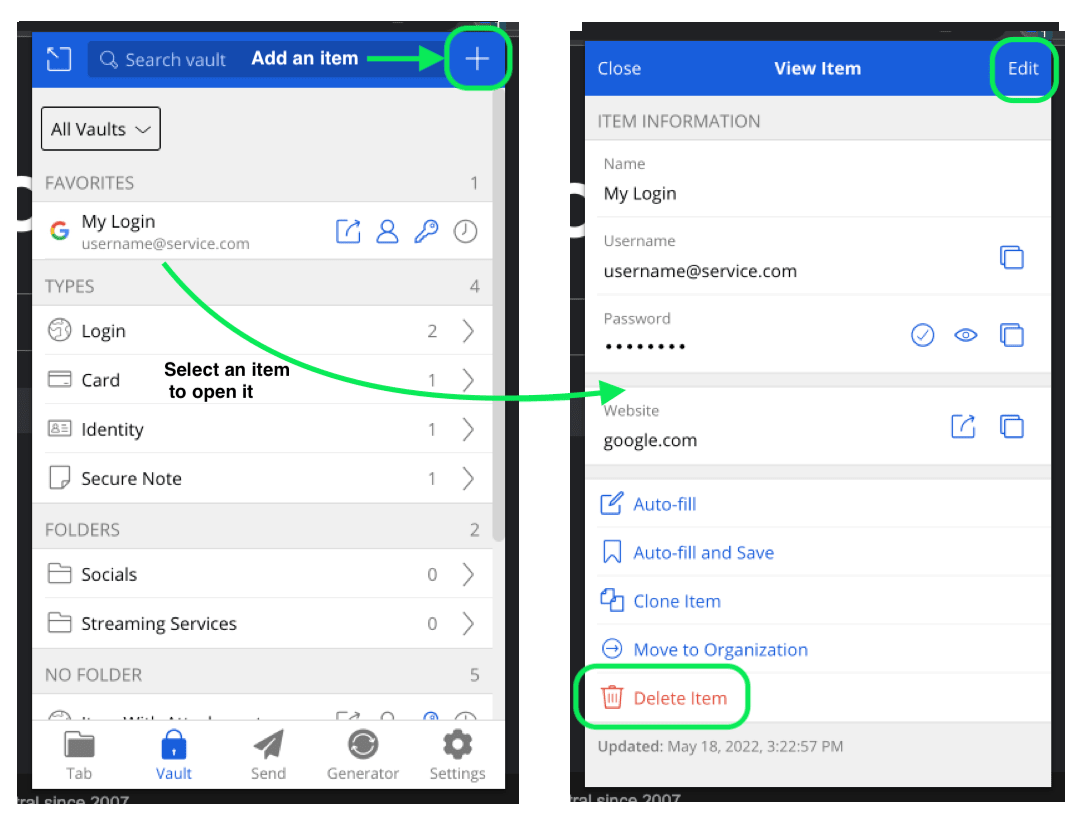
Choose a vault from the All Vaults dropdown on the Vault tab:
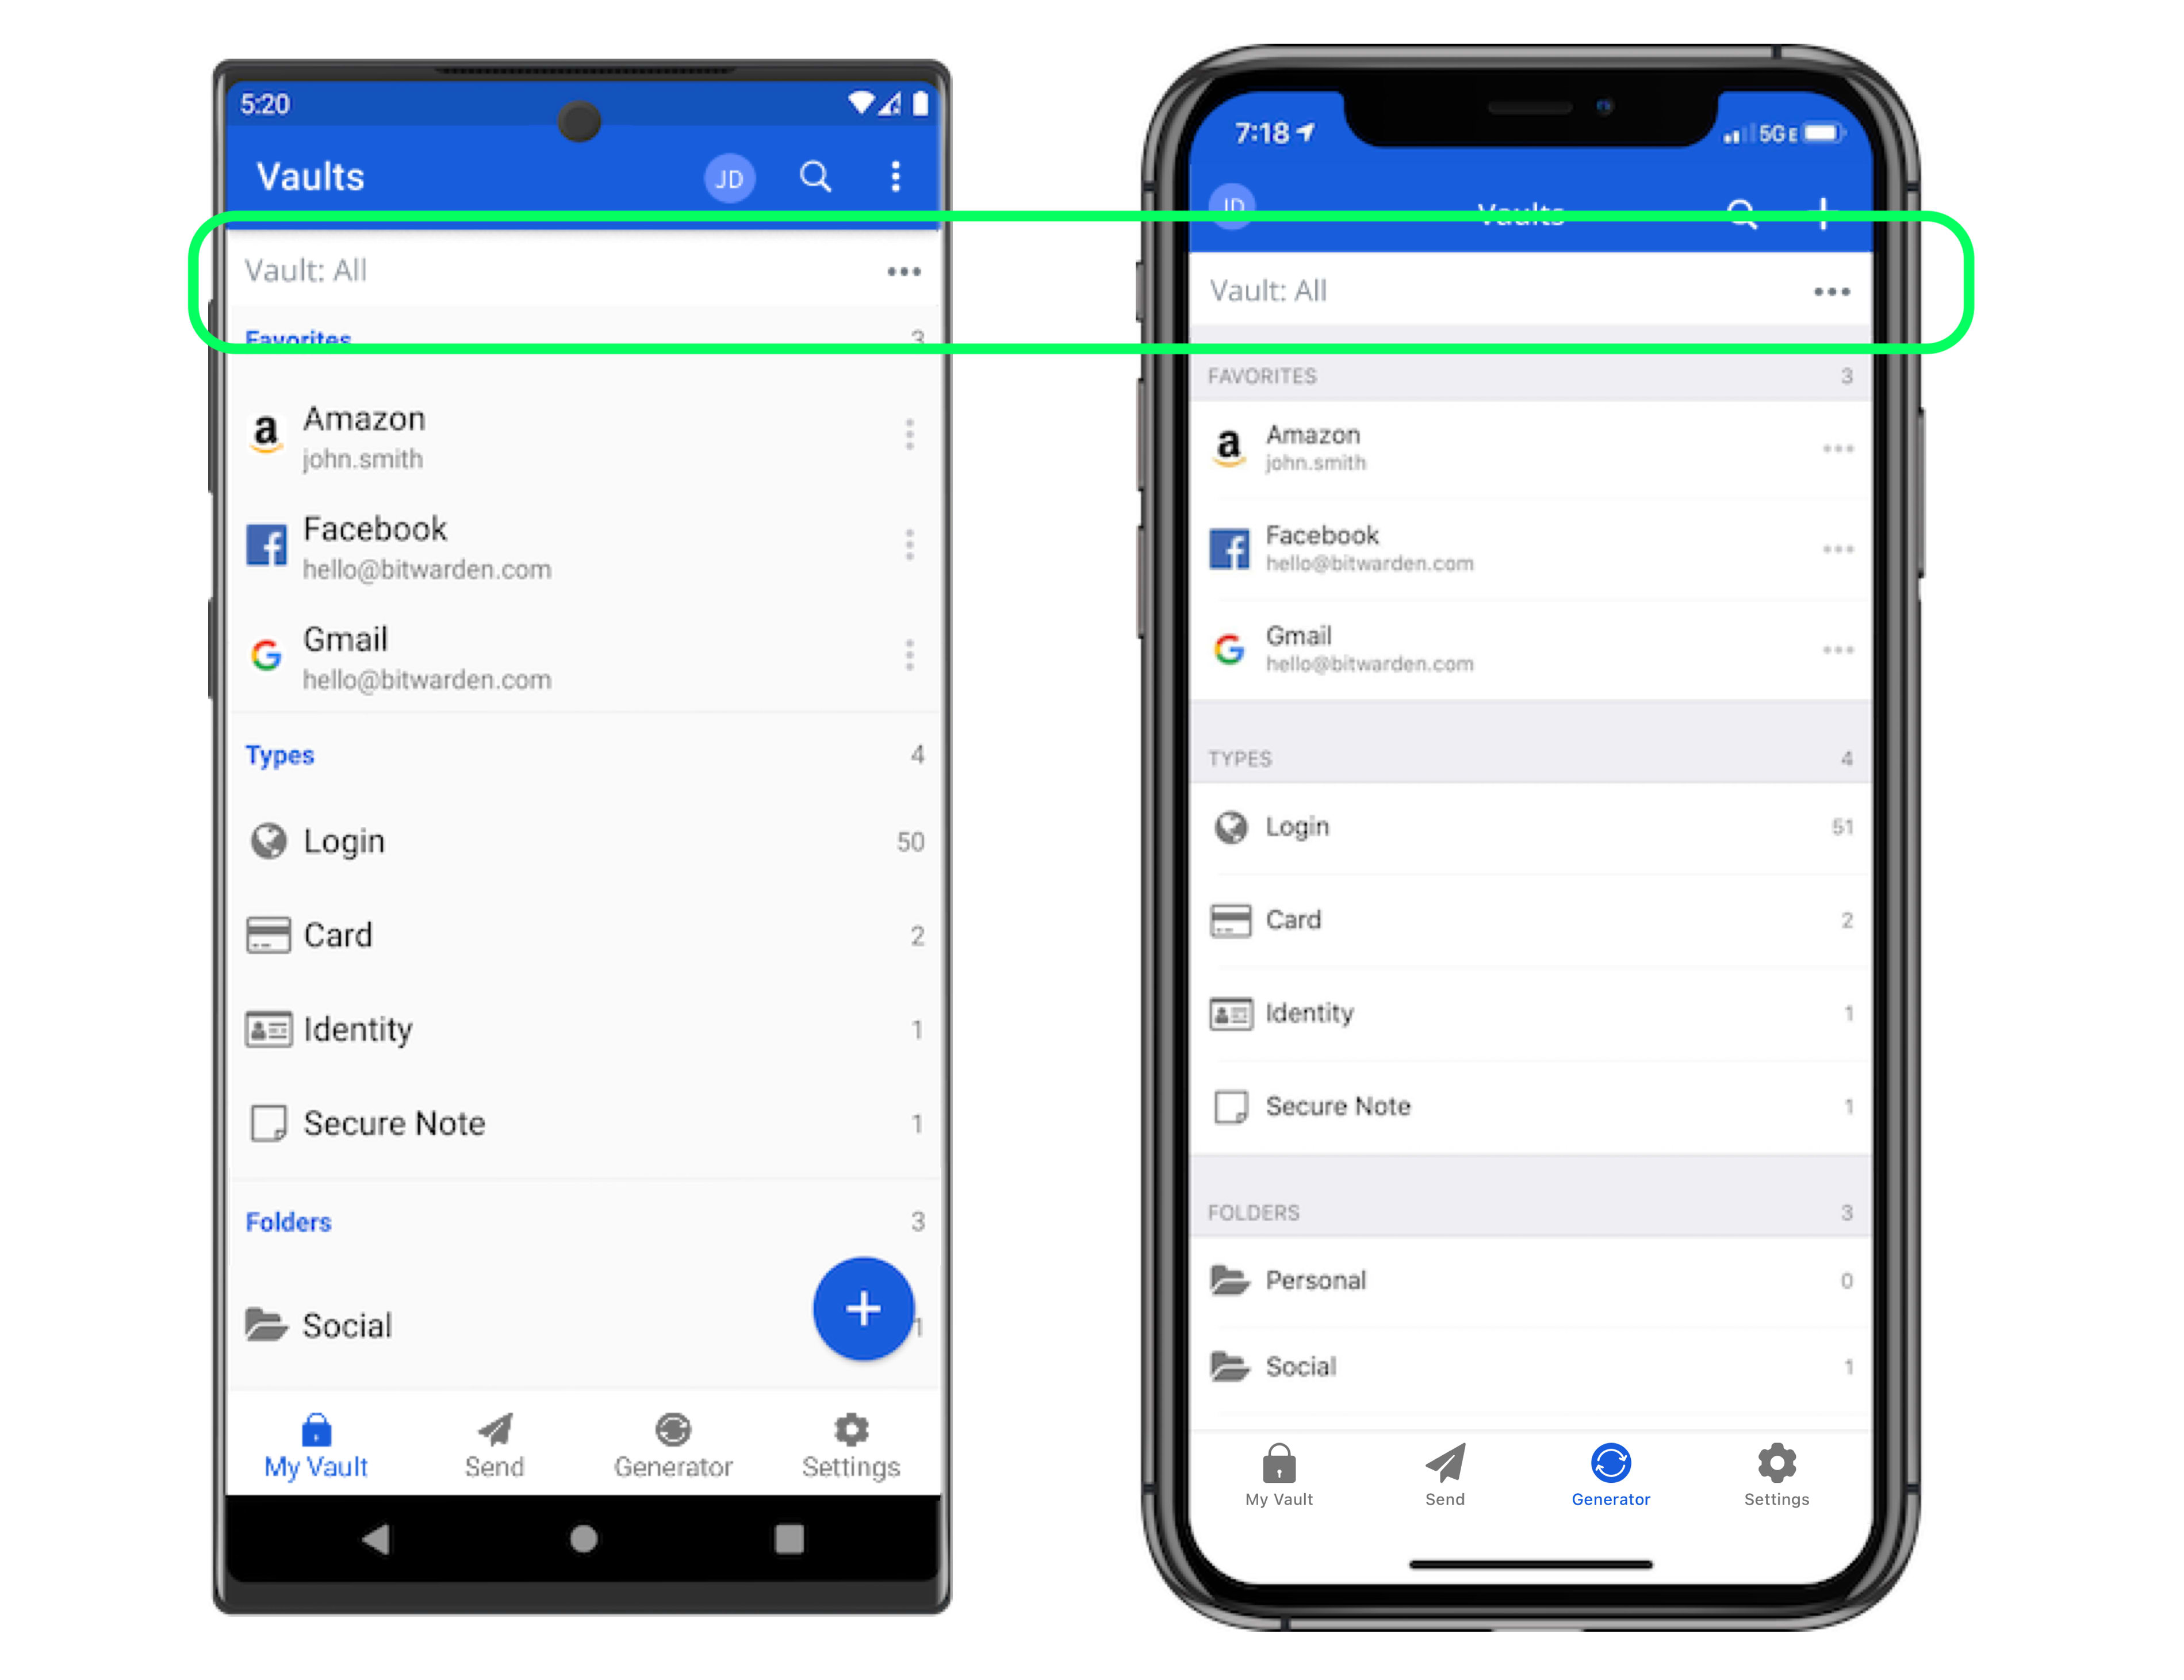
Choose a vault by selecting the Vault menu button () on the My Vault tab:
Select a vault from the left-most column (in the following screenshot, My Vault or My Organization):
Use the bw list command with the --organizationid option, which can take either an organization identifier or null, to list items by vault. Learn more.
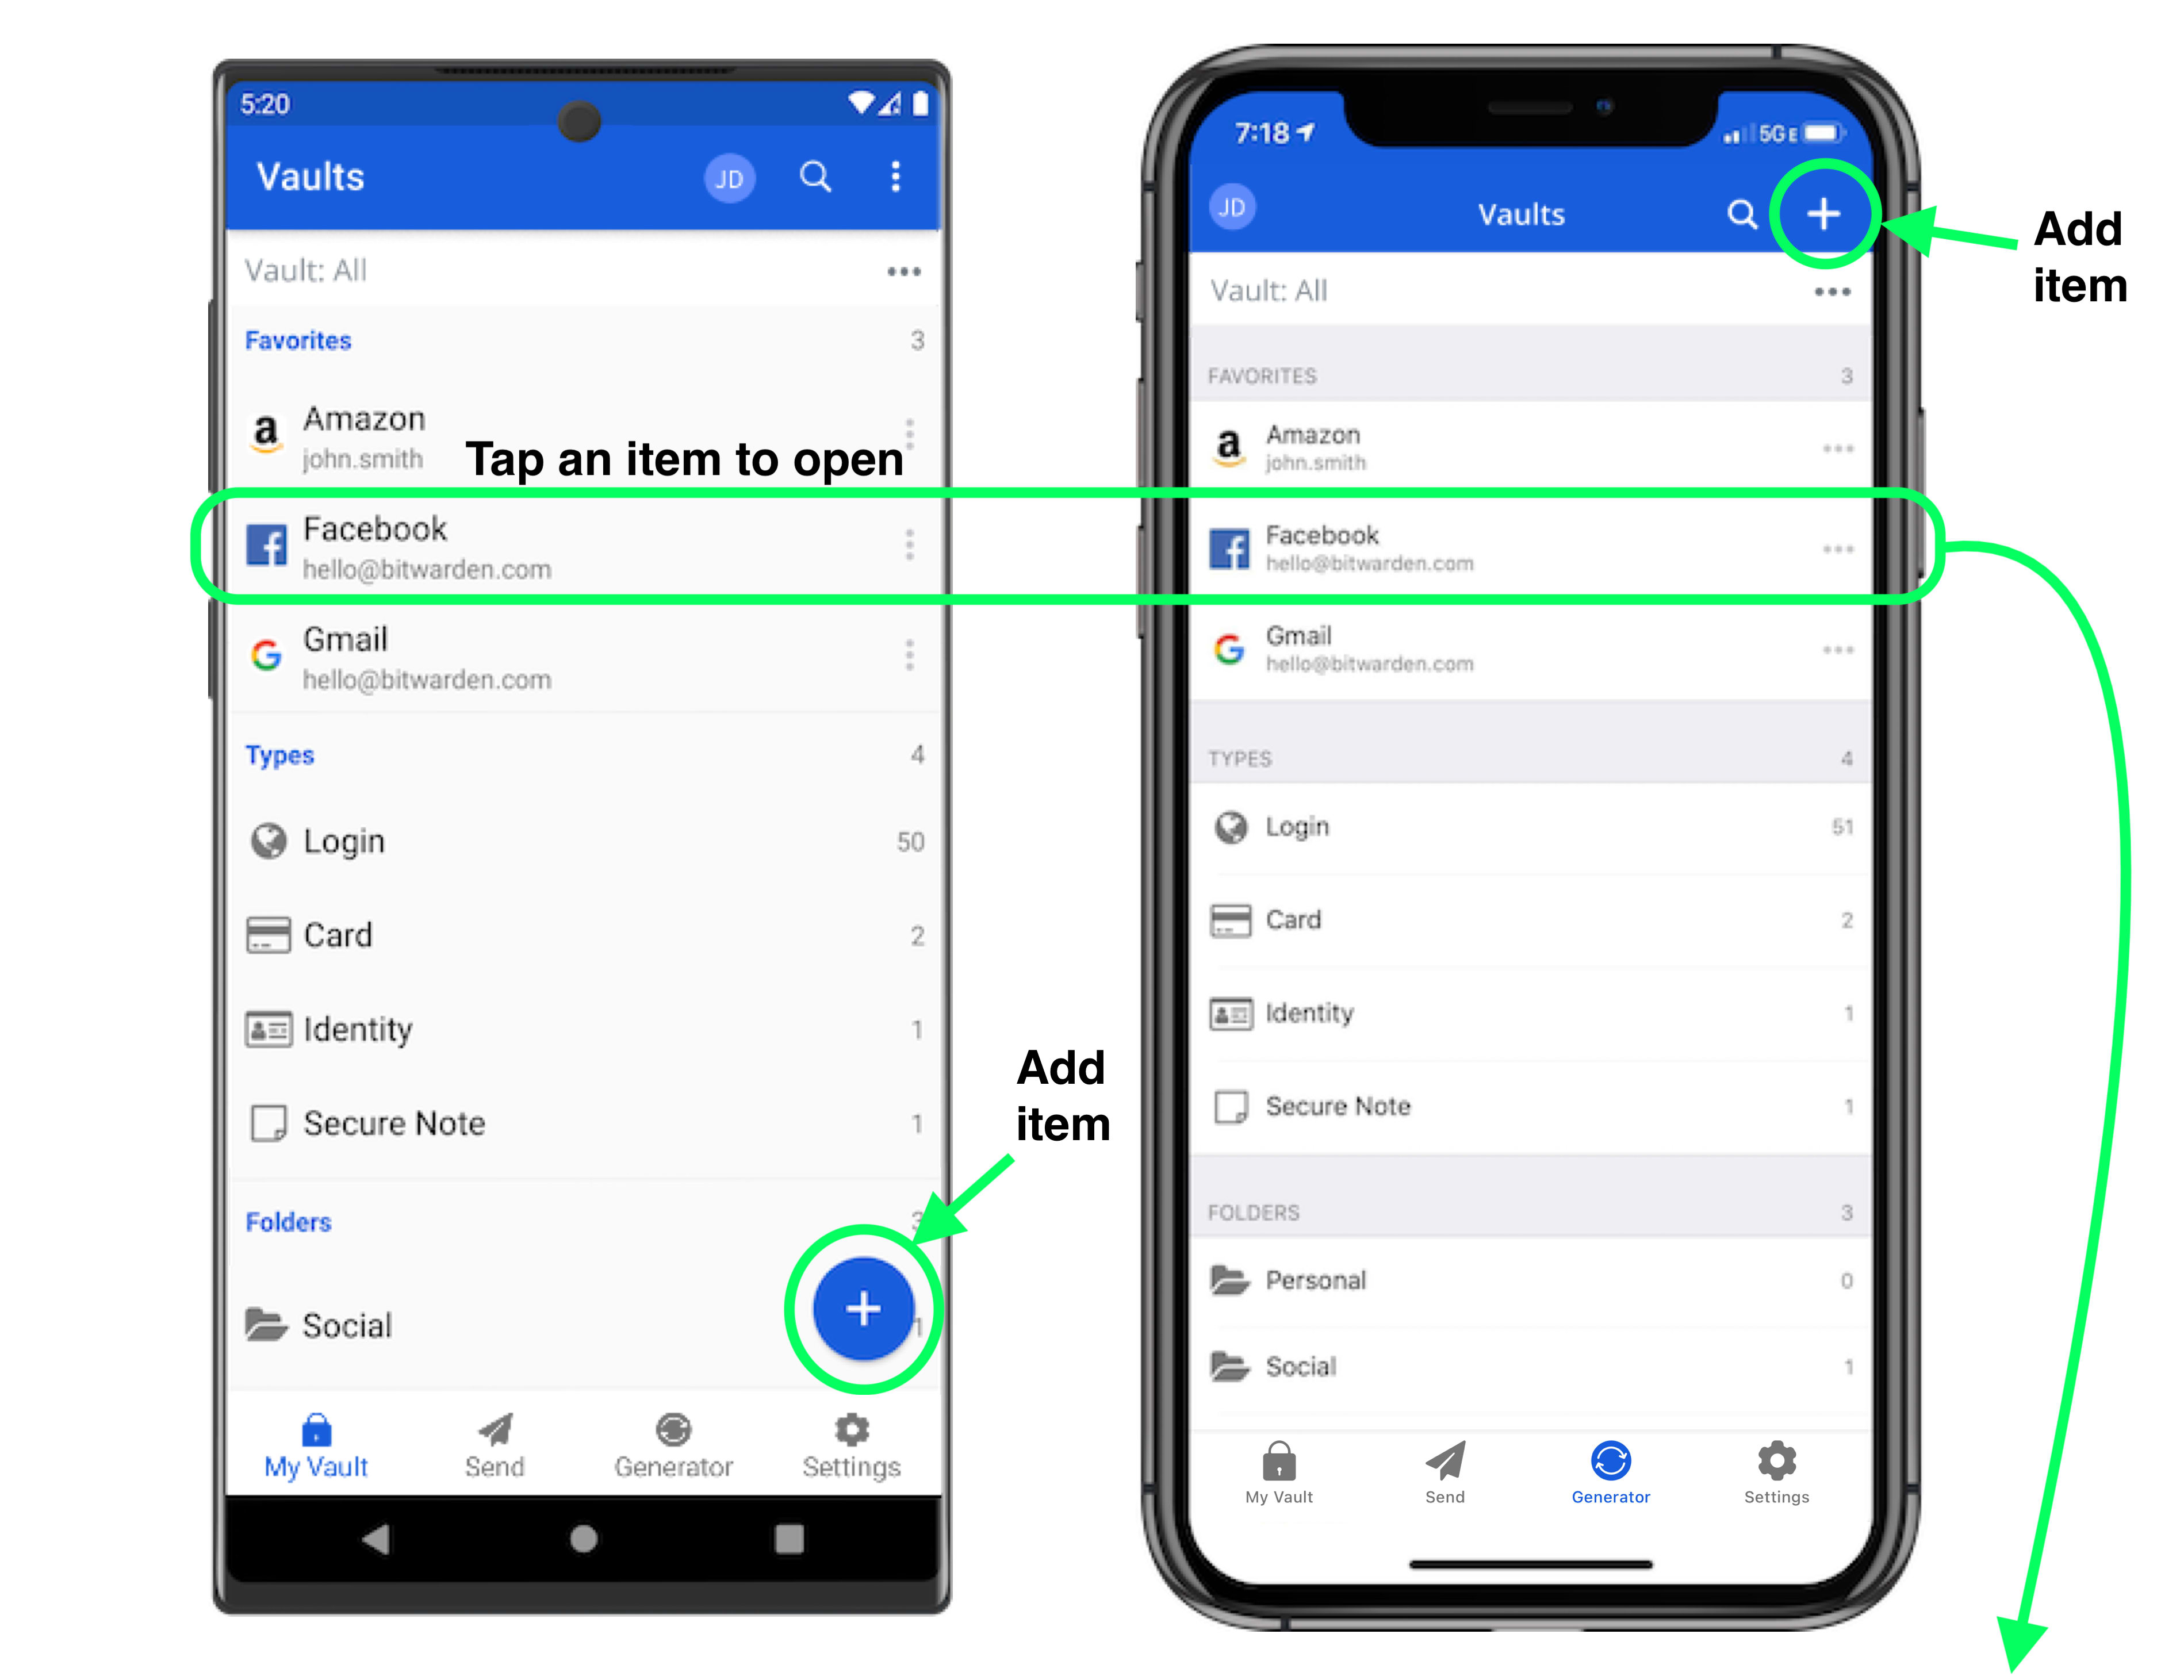
You can add, edit, and delete vault items from any Bitwarden app:


For more information, refer to the Bitwarden CLI documentation.
In addition to adding, editing, and deleting vault items, you can clone items to create duplicates, move items to an organization, and protect items on an individual basis.
You can clone any item that you have ownership of if you want to create a duplicate of the item:
Select Clone from the Options menu.
Open the item and select the Clone Item option.
Open the item and tap Clone in the Menu.
Open the item and select the Clone Item option.
To clone an item owned by an organization, you need to clone it from the organization vault view using the web app.
If you're a member of an organization, you can move vault items to your organization for sharing with other organization members. Learn more about organizations, collections, and sharing.
For any item, you can activate the Master password re-prompt option from the Add/Edit screen to require verification of your master password to access or auto-fill sensitive vault items:

Master password re-prompt will behave slightly differently depending on which app you're using, for example:
In the web app, accessing or editing anything about a vault item with this enabled will require you to re-enter your master password.
On browser extensions, desktop apps, and mobile apps, only viewing hidden fields (e.g. passwords, hidden custom fields, credit card numbers) will require you to re-enter your master password. Editing anything about the item will also require you to re-enter your master password.
Users who do not have master passwords, for example those in organizations using SSO with trusted devices or Key Connector, will have master password re-prompt disabled for them. Additionally, trusted contacts using emergency access will not be required to re-enter a master password in order to view a protected vault item.
warning
Master password re-prompt is not an encryption mechanism. This feature is an interface-only guardrail that a sophisticated user may find ways to work around. We recommend never leaving your vault unlocked when unattended or on a shared workstation.
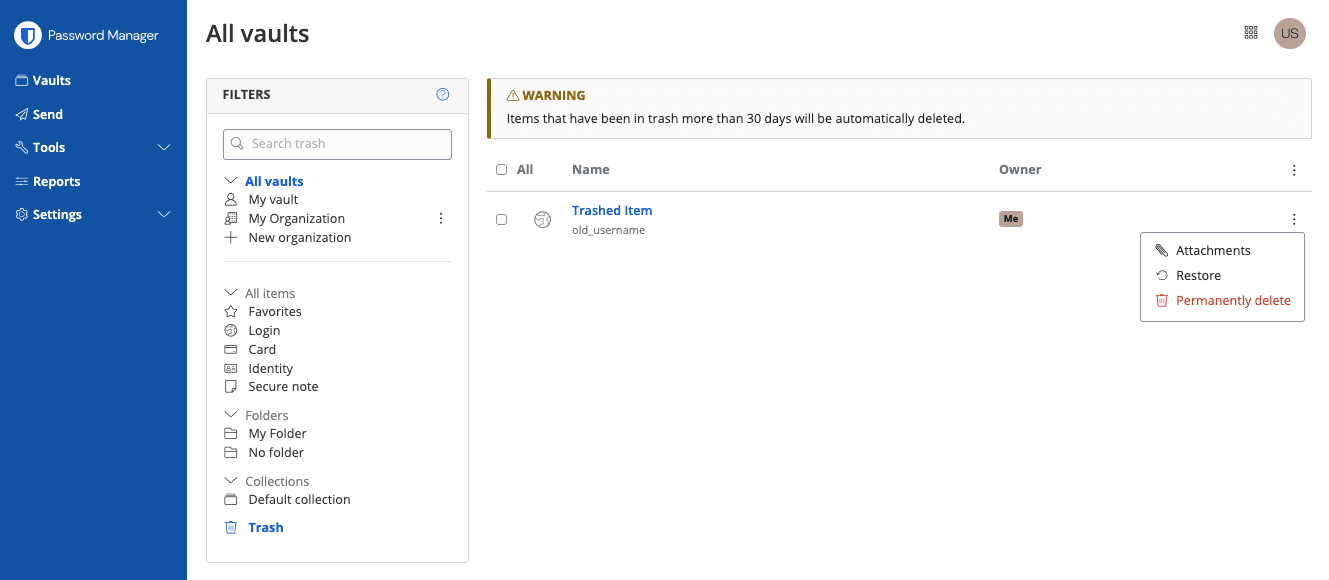
Deleted items are sent to the trash, where they remain for 30 days after deletion. Once 30 days have elapsed, the item will be permanently deleted and not recoverable.
In the trash, you can Restore an item to your vault or Permanently delete it prior to the 30-day waiting period using the menu:
Now that you understand the basics of working with vault items, we recommend:
Adding custom fields, TOTP seeds, and file attachments to vault items